The Most Versatile Haircut There Is – Side Part Flip Haircut Tutorial
Side parts are back for 2023, and we have a super easy, textured side part haircut that works with many hair textures and densities. Making this look a go-to look for your guests in the salon.
This haircutting guide has been taken from Matt Becks YouTube channel Free Salon Education. Matt is passionate about giving everybody access to hairdressing education, giving you the opportunity to upskill totally for free. Matt also adds content to his TikTok, YouTube, Instagram and Patreon so you have access to all the education at your fingertips. So, check it out to keep at the top of your hair game in the salon. Check out his YouTube video below on the side flip versatile hair cut class.
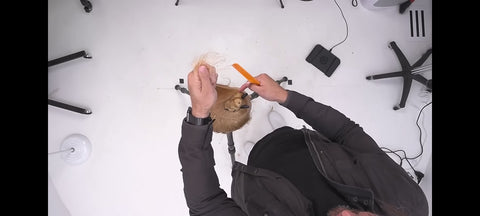
Section the hair cut with the side part
This versatile side part hair cut sectioning starts with an a-symmetry in the top section, using the side part as part of the guide for the sectioning. Matt references the eyebrows to use as points to section from. He then uses the densities of the hair to separate the front and back, and spits the back with a slight diagonal forward to work in the nape.


Take a look at Free Salon Education Digital Haircutting System
IF this content seems a little confusing to understand the why/how of hair cutting, take a look at matt becks Free Salon Education Digital Haircutting System. This will give you the knowledge of terminology, why, what and how of hair cutting, which is also a good tool to use for understanding haircutting. It’s a great reference to go back to, and maybe gives you the confidence to push your haircutting that one step further.

Create The Under Cut
So, were going for an undercut look. This is a great way to remove bulk in hair, it can allow layers to be longer in thicker hair and also add a cool disconnected element to the haircut. Matt takes vertical sections working from the middle with a travelling guide. Section 1 is the guide length. Then moves section 2 towards section 1, section 3 moves towards section 2, section 4 towards section 3 and so on. Basically, taking new sections into the previous. We repeat this process on the opposite side, with our 1st guide still being the middle section - section 1.

Cut the Layers of The Top Back Section
We start in the middle back, again with a vertical section and Matt takes the layer directly up and cuts at the tip of the finger at a 90° angle then he rounds the layer a little, he is not cutting a uniform layer following the shape of the head. He is creating a lightness through the hair cut to give a soft kick to the fall of the hair. Then section 1 moves towards section 2, section 2 towards section 3 and so on following the guide. This then gets repeated on the opposite side and matt the works on the sides of the haircut.

Work With Over Direction on the Right Side of the Hair Cut
On The right side of the haircut, Matt wants the hair to fall backwards – away from the face. So, he decides to cut the hair with over direction pulling it forwards, this with help the hair swing in the opposite direction when it falls. Also, this section is going to sit under the top section. The shortest point of the layer will be in the interior of the haircut while the longest point will be at the exterior of the haircut. Matt works with a diagonal forward as a stationary guide, using point cutting to soften the look.

Work on The Left side of the Haircut
Matt explains during this part of the haircut the importance of acknowledging the base that you are working from. The round of the head determines the fall of the hair/layers so think about what happens if you're cutting on more of a round or more of a flat surface. Matt is condensed cutting this area meaning the section is all cut at one point. Hes pulling it directly up above the parietal ridge and cuts. Slide cut into this section to break it up and create movement.


Finally, Cut the Top Section of The Haircut
The top section is the part that brings the whole hair cut together, marrying all the layering you have created in the haircut. Matt decides to have some fun with his TriRazor. A 3-sided patented cutting tool, giving you 3 tools in one for texturizing hair. He first takes out hair with the 25% side of the razor. Then he decides to swipe length away with his 100% cutting edge. Then he personalizes the edges with the razor to soften it up.


Blow Dry the Haircut
Grab your blow-dryer and brushes and have a little fun drying the hair in the opposite way you want it to fall. Matt is using his large ergo round brush to elevate the hair and pump in some volume. He smooths over the hair with his diamond head ergo brush and you can see the movement and kicks in the layers from the final look. Thanks for reading guys!


